How to Weld 304 Stainless Steel Properly in 2026?
Welding 304 Stainless Steel requires more than choosing the correct filler rod and turning on the machine. This widely used austenitic stainless grade resists corrosion, but its clean appearance can hide serious welding problems. Excessive heat may cause distortion, heavy heat tint, or reduced corrosion resistance near the joint. A reliable process begins with material identification, clean tools, and a controlled welding procedure.
In practical work, I have found that preparation often decides the result before the arc starts. Remove oil, paint, moisture, and carbon-steel particles from the joint. Use a stainless-only wire brush and dedicated grinding wheels. Fit the parts evenly, then use short tack welds to control movement. Argon shielding must remain stable around the weld pool and the hot backside. Even a small draft can create gray, porous weld metal. It happens quickly.
TIG welding offers precise control for thin 304 sheet, while MIG welding can improve productivity on thicker sections. Select 308L filler for many 304 applications, but confirm compatibility through the approved welding procedure. Keep the interpass temperature controlled, and avoid lingering in one area. A blue or dark oxide layer is not merely cosmetic; it may signal excessive heat or inadequate shielding. After welding, remove discoloration and inspect the bead for cracks, undercut, porosity, and incomplete fusion. Experienced welders still make mistakes, especially when production pressure increases. That is why procedure qualification, inspection records, and appropriate personal protective equipment remain essential. This guide explains practical methods for producing cleaner, stronger, and more consistent 304 stainless steel welds in 2026.
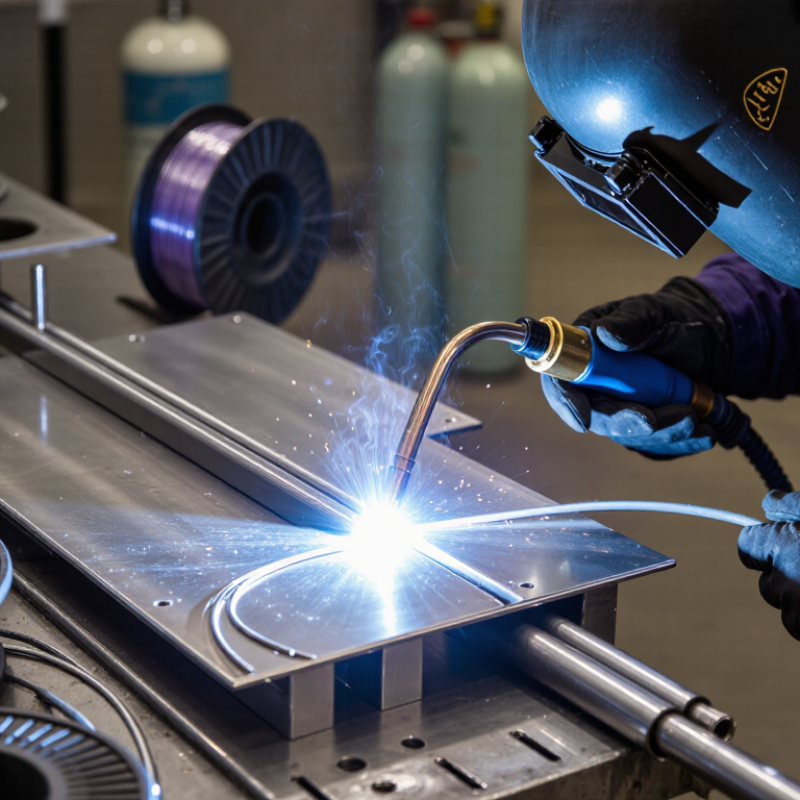
304 Stainless Steel: Properties That Affect Welding
304 stainless steel is an austenitic alloy with strong corrosion resistance and good ductility. Its chromium forms a thin, protective oxide layer. Keep it clean.
However, 304 transfers heat less efficiently than carbon steel. Heat stays near the arc, while the metal expands noticeably. This combination can cause distortion, wide weld pools, and uneven penetration. In practical shop work, tack welds and balanced passes help control movement. Excessive heat can also create chromium carbides between 425°C and 850°C. Corrosion resistance may then decline near the weld. Use controlled heat input and avoid lingering at the joint.
Surface contamination is another serious concern. Iron particles from ordinary steel tools can later produce rust stains. Dedicated stainless brushes, clean gloves, and degreased edges reduce this risk. For pipe or sheet joints, shielding the root with an inert gas prevents heavy oxidation. A dull, sugary root signals poor protection. Do not ignore it.
A low-carbon 304 grade is often more tolerant of prolonged heating. Still, it is not immune to distortion or contamination. Filler selection should match the base metal, service environment, and qualified welding procedure. Inspect fit-up before striking the arc. Small gaps change penetration quickly. Welders sometimes chase appearance and add unnecessary heat; that habit deserves honest review. A smooth bead is not automatically a sound bead. Check penetration, undercut, discoloration, and distortion after cooling.
Essential Tools, Materials, and Safety Preparations
Welding 304 stainless steel properly starts before the arc is struck. Choose a stable TIG power source with high-frequency start, adjustable amperage, and post-flow control. For thin sheet, a sharp 1.6 or 2.4 mm tungsten supports better arc control. Use ER308L filler metal for most 304 joints. Confirm the material grade before welding.
Keep a dedicated stainless brush, lint-free wipes, acetone, clamps, and a shaded welding helmet nearby. Never use carbon-steel tools on the joint. Iron particles can create rust spots later. Clean both sides of the seam, then allow the solvent to evaporate fully. For pipe or heavy sections, argon back-purging protects the inside from sugaring. A flowmeter and leak-tested hoses matter more than excessive gas flow.
Wear flame-resistant clothing, insulated gloves, safety boots, and suitable eye protection. Provide local ventilation, especially when cleaning agents or coatings are present. Remove combustible materials from the work area and keep an appropriate fire extinguisher accessible. Check the safety data sheets for every chemical used. Stainless steel reflects heat, and the weld may look harmless while remaining extremely hot. I still find that rushed fit-up causes more defects than poor machine settings. Tack evenly, control heat input, and pause if the color becomes dark or the joint starts pulling out of alignment.
How to Weld 304 Stainless Steel Properly in 2026?
Typical shielding-gas flow ranges for common 304 stainless-steel welding processes. Use the applicable qualified welding procedure and adjust the flow for joint design, torch or nozzle size, and workshop airflow.
Before welding, remove oil, paint, and moisture; use dedicated stainless-steel brushes and abrasives; verify the shielding-gas supply; provide local exhaust ventilation; and wear a welding helmet, gloves, flame-resistant clothing, and suitable eye and respiratory protection.
Step-by-Step Welding Procedure for 304 Stainless Steel
How to Weld 304 Stainless Steel Properly in 2026?
Start by confirming the material is 304 or 304L stainless steel. Check the mill certificate when available. Remove oil, scale, and fingerprints with a clean stainless-only brush and approved solvent. Do not use carbon-steel tools. They can embed iron and create rust spots. Fit the joint tightly, then use short tack welds to control distortion. The ASM Handbook reports thermal expansion near 17.2 µm/m·°C for austenitic stainless steel, so gaps can change quickly during heating.
For GTAW, use DCEN, high-purity argon, and a flow rate near 8–12 L/min. An ER308L filler is commonly selected for 304 joints. Keep the arc short and travel steadily. Excessive heat can cause warping and chromium-carbide sensitization between about 450°C and 850°C, as described in the Welding Handbook. Preheating is usually unnecessary. Keep interpass temperature controlled, preferably below 150°C unless the qualified procedure states otherwise. I clean each pass and inspect the root before continuing. That extra minute prevents buried defects. Still, this step is easy to rush.
Use a calibrated thermometer when the weld is critical. AWS guidance emphasizes qualified procedures, suitable filler selection, and visual inspection before service. The completed weld should show smooth ripples, full fusion, and no dark oxide beyond the heat-affected zone. Purge the backside with argon for open-root joints. Poor purging leaves heavy oxidation. That mistake deserves a second inspection. Final acceptance should follow the project code, approved welding procedure, and trained inspector’s judgment.